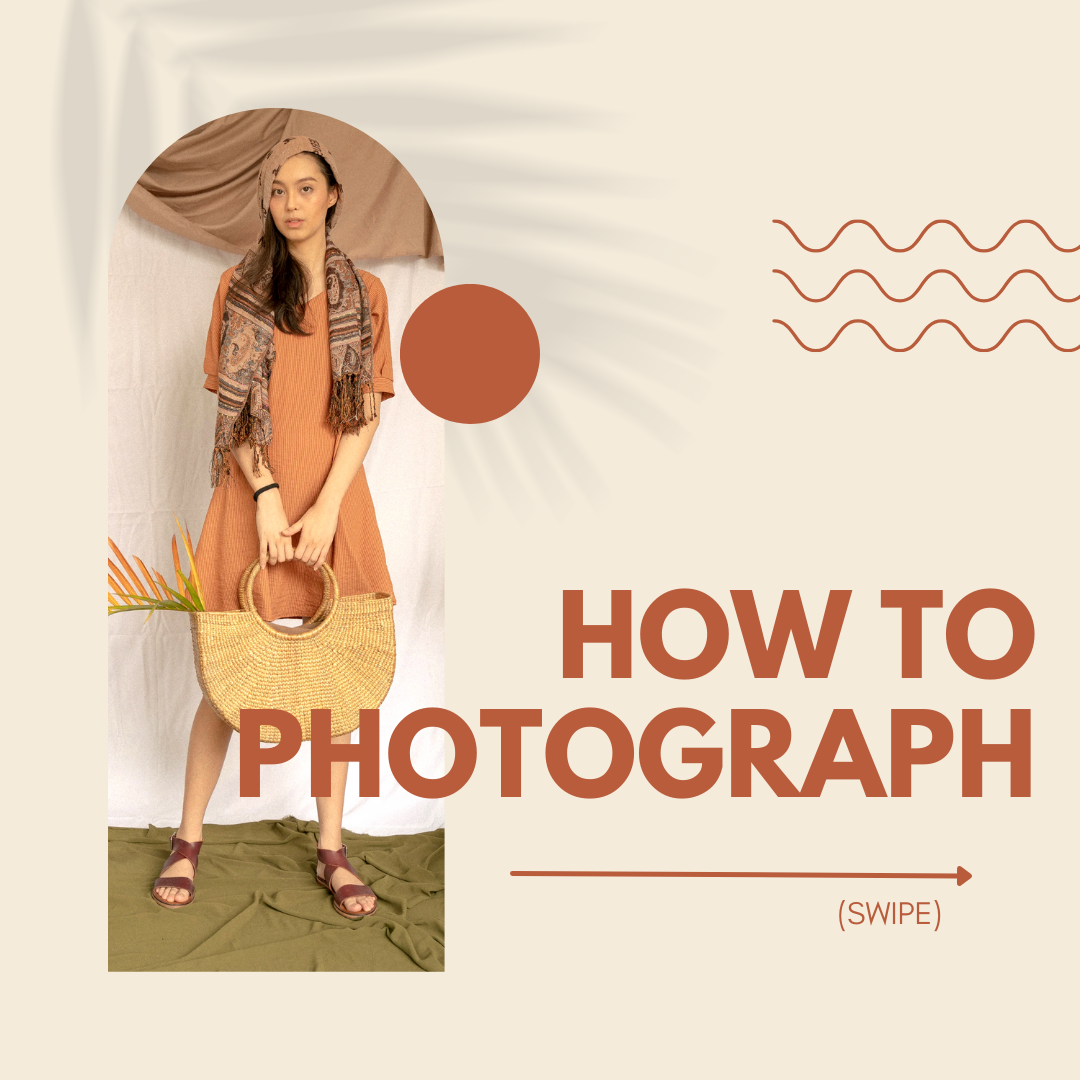
Picture Perfect
Picture Perfect: The Ultimate Guide to Photographing Items for Sale on Mums Mart Online Marketplace

Ready to turn your clutter into cash? Whether you're selling on eBay, Facebook Marketplace, or a local classifieds site, mastering the art of product photography can make all the difference. Let's dive into the essential techniques that will make your items irresistible to potential buyers!
1. First Impressions Matter: The Full View

Your first photo is your handshake with potential buyers. Make it count! Show the entire item in this shot, giving viewers a comprehensive look at what you're offering. Remember, no collages allowed - keep it simple and straightforward.
2. Authenticity is Key

For brand-name items, especially luxury goods, close-up shots of labels and logos are crucial. These details not only showcase the item's authenticity but also build trust with your buyers. If possible, include a photo of your proof of purchase, such as a receipt or invoice.
3. Keep It Real: Use Your Own Photos

While it might be tempting to use stock images or pictures from the internet, resist the urge. Not only are these often copyrighted, but they also don't accurately represent the current condition of your item. Your own photos tell the true story of what you're selling.
4. Natural Light is Your Best Friend
Capture your item's true colors by photographing in natural daylight. Avoid using flash or filters, which can distort colors and details. If you must shoot indoors, find the best place in your home where there is no distractions , plain backround, like a wall, and where you best day light is, or set up near a window for the best lighting. Notice what time of the day there is a best light at the best spot that you found in your home for taking pictures.
Here are some pictures of examples of the shoes taken on the same spot during the evening time and in the morning.


5. The 360-Degree Experience
Don't be shy - show off your item from every angle! Multiple viewpoints give potential buyers a complete picture and can help seal the deal. Front, back, sides, top, and bottom - leave no angle uncaptured.
6. Details, Details, Details


Zoom in on the important features that might not be visible in full-view shots. This could include logos, care labels, stitching, or any unique characteristics. Ensure that any text is clearly readable in these close-ups.
7. Honesty is the Best Policy: Show the Flaws
If your item has any defects or imperfections, make sure to photograph and mention them. Being upfront about condition issues builds trust and can prevent returns or disputes later on.

8. Quantity and Quality Go Hand in Hand
Upload up to 20 high-quality photos per listing. This gives you plenty of room to showcase your item thoroughly without overwhelming potential buyers.
9. Size Matters: Provide Context
Help buyers visualize the size of your item by including a common object for scale. A coin works well for small items, while a ruler or measuring tape is great for larger pieces.
10. Action Shots (When Applicable)
For items with moving parts or multiple functions, consider a series of photos or even one short video clip showing it in use. This is particularly effective for electronics, appliances, or toys.
11. Bag It Up: Showcasing Handbags and Purses
When it comes to photographing bags, presentation is everything. An empty bag often looks flat and uninspiring, failing to showcase its true potential. Here's how to make your bags stand out:
- Fill It Up: Stuff your bag with tissue paper, bubble wrap, or even clean clothing to give it shape. This helps potential buyers visualize how the bag will look when in use.
- Show Its Capacity: For larger bags or backpacks, consider including a photo with common items inside (like books or a laptop) to demonstrate its carrying capacity.
- Stand It Up: Use hidden props if necessary to help the bag stand upright, showcasing its structure and design.
- Strap Display: Don't forget to show any straps or handles extended to their full length. This gives buyers a sense of how the bag can be carried.

- Interior Shots: Include clear photos of the bag's interior, including any pockets or compartments. Good lighting is crucial for these shots.

- Size Reference: Place a common object next to the bag for scale, or consider a photo of someone holding it (with face cropped out for privacy).
By presenting your bags in their best light, you're not just selling an item – you're selling the lifestyle and functionality that comes with it. A well-photographed bag can make potential buyers imagine themselves using it, increasing the likelihood of a sale.
Additional Tips:
- Use a plain, uncluttered background to make your item stand out.
- Ensure your photos are crisp and clear. Use a tripod or steady surface to avoid blurry shots.
- For clothing items, consider showing them both on a hanger and laid flat.
- If modeling clothing or accessories, crop out faces for privacy.

Remember, your photos are the first and only impression a potential buyer will have of your item. By following these guidelines, you'll create listings that are informative, attractive, and primed for quick sales. Happy snapping and selling!
Also look on our website for more example of photos. This will help you to have a better idea of how to photograph your items to actually sell them.
And don't forget, you can always message us if you have any questions on how to start selling on Mums Mart Marketolace.
#howtographingclothes #photographingbags #howtophotograph
#photographingitems #photographtosell